Ceramic tile installation can transform any space into a sleek, durable, and visually appealing area. Whether you’re renovating a bathroom, kitchen, or flooring, having the right tools and materials is crucial for a successful project. This guide outlines the essential materials needed for ceramic tile installation and links to recommended Amazon USA products to simplify your shopping process.
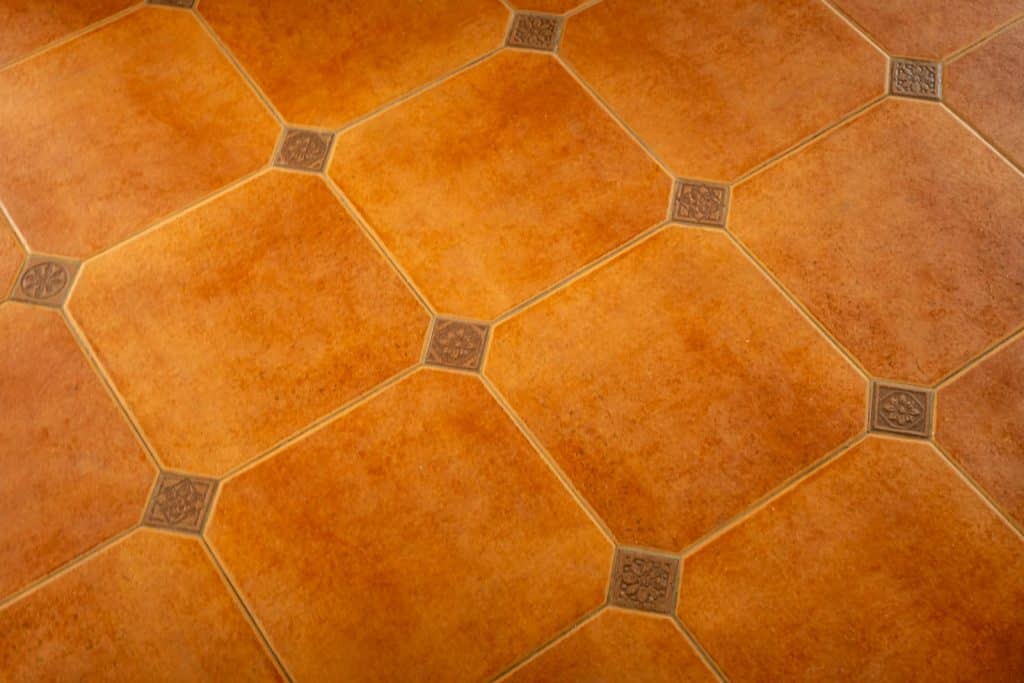
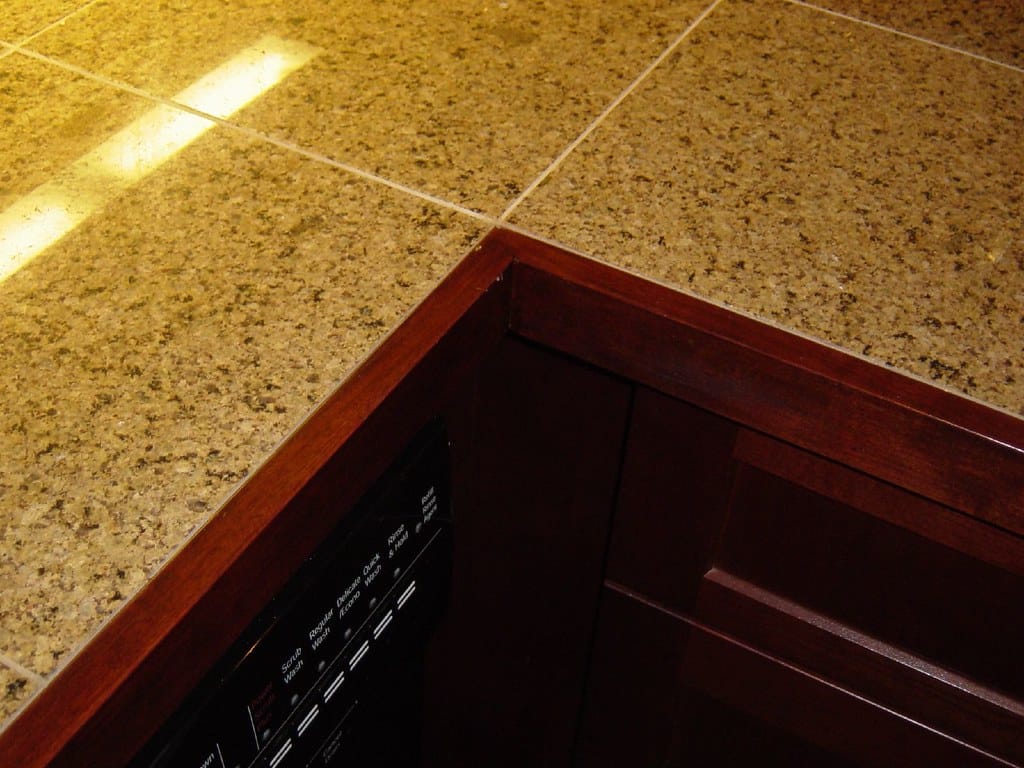
1. Ceramic Tiles
The foundation of your project is, of course, the ceramic tiles themselves. Choose tiles based on their size, color, finish, and durability. For high-traffic areas, opt for thicker, more robust tiles. Subway tiles, mosaic patterns, or large-format tiles are popular choices depending on your design goals.
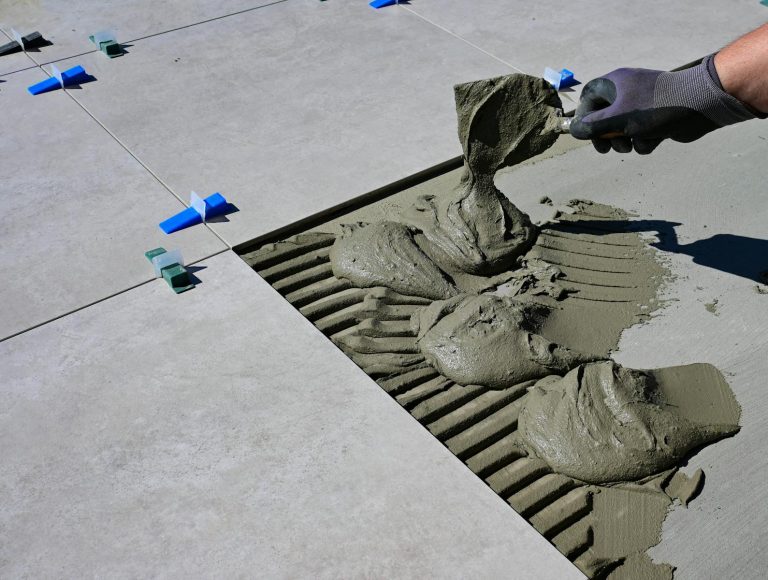
2. Tile Adhesive or Thin-Set Mortar
Tile adhesive (or thin-set mortar) is a cement-based mix used to bond tiles to the substrate. Pre-mixed adhesives are convenient for small projects, while powdered thin-set mortar offers flexibility for larger areas. Waterproof adhesives are ideal for wet areas like showers.
3. Grout
Grout fills the gaps between tiles, preventing moisture penetration and enhancing aesthetics. Sanded grout works best for wider joints (1/8” or larger), while unsanded grout suits smaller joints. Epoxy grout is stain-resistant and ideal for kitchens or bathrooms.
4. Tile Spacers
Spacers ensure consistent gaps between tiles for uniform grout lines. Plastic “T”-shaped spacers are reusable and come in sizes like 1/16” (for minimal grout lines) to 1/4”.
5. Tile Leveling System
A leveling system prevents tiles from shifting or lippage (uneven edges). These kits include clips and wedges to align tiles perfectly during installation, especially for large-format tiles.
6. Notched Trowel
A notched trowel spreads adhesive evenly. The notch size depends on tile dimensions: 1/4” x 3/8” notches suit most wall tiles, while larger notches work for flooring.
7. Grout Float
This rubber-bladed tool presses grout into joints and removes excess material. A comfortable grip minimizes hand fatigue.
8. Tile Cutting Tools
Accurate cuts are critical for edges, corners, or obstacles. Manual snap cutters work for straight cuts on ceramic tiles, while wet saws handle intricate shapes.
9. Personal Protective Equipment (PPE)
Safety first! Gloves, knee pads, safety glasses, and masks protect against sharp edges, dust, and chemical exposure.
10. Moisture Barrier and Underlayment
For floors, a cement backer board or uncoupling membrane (like Schluter-DITRA) prevents cracks from shifting subfloors.
Optional but Helpful Tools:
- Sponge & Bucket: For cleaning excess grout.
- Laser Level: Ensures straight lines.
- Tape Measure: For accurate layouts.
Why Professional Help May Be Wise
While DIY tile installation is rewarding, it’s labor-intensive and requires precision. Mistakes—like uneven tiles or improper sealing—can lead to costly repairs. If you lack experience, consult a professional, especially for complex patterns or large areas.
Final Tips for Success
- Buy 10–15% extra tiles to account for cuts and breakage.
- Test layouts before applying adhesive.
- Seal grout lines after curing to prevent stains.
By equipping yourself with these materials and tools, you’re well on your way to achieving a polished, long-lasting tile installation. Happy tiling!